

How To Clean Microphone On Iphone 6
iPhones are always with us, whether we're at work, at dinner, in bed, or in the washroom. It's only normal for them to get a little dirty now and then. The majority of an iPhone is simple to clean; all you have to do is wipe it down with a damp washcloth. If the speakers or microphones on your iPhone become too dusty, they will stop operating properly. A heavy covering of dust, mucus, or even cosmetics blocks the sound from or into the grille so that your music seems silent and people can not listen to you on the phone. In this article, different methods are described to clean the iPhone microphone.
How to Clean iPhone Microphone:
Before you begin to clean iPhone microphone, make sure your iPhone is ready
Certain points may seem apparent, but we'll mention them anyway in case you hadn't already considered them. Before cleaning any area of your iPhone, there are a few things you need to do:
- Unplug all cables that are connected to your iPhone.
- Take it out of its protective cover (if you have one)
- Remove the screen protector if you have the option.
- Turn your iPhone off.
Method 1: First, Make Sure Your iPhone Is Clean.
Clean all of the edges of the iPhone for removing any dirt, grease, or dust before you begin cleaning the speakers. Additionally, sanitize your gadget if necessary.
- Take soft, lightly moist, lint-free napkins, such as a lens cloth or a cotton cloth, and clean the lens.
- Wipeout all of the sides of your iPhone, including those that don't come in contact with regularly, such as the backside.
- If the cloth itself didn't work, soak it with soap and warm water and rinse it out before applying it to the iPhone.
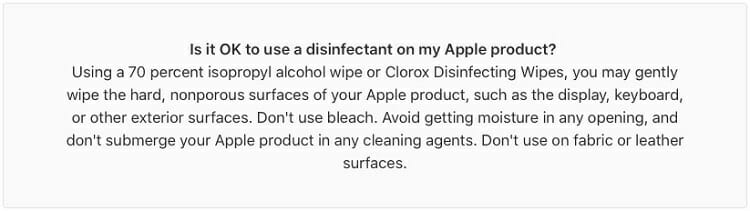
- When necessary, sanitize your iPhone with 70% isopropyl alcohol or a sanitizing wipe (Never use bleach-containing wipes)–wring it out again before using the iPhone.
- Wipe all of your iPhone's outer surfaces with a soft cloth.
- Let the iPhone dry naturally.
Method 2: Find the location of your iPhone's Speakers.
Additionally, it is beneficial to be aware of the locations of the three speakers plus microphones on the iPhone before you begin to clean iPhone microphone. There's a metal grille covering each of them, which helps to block dust and debris from going inside your iPhone while yet letting it grow outside of the device.
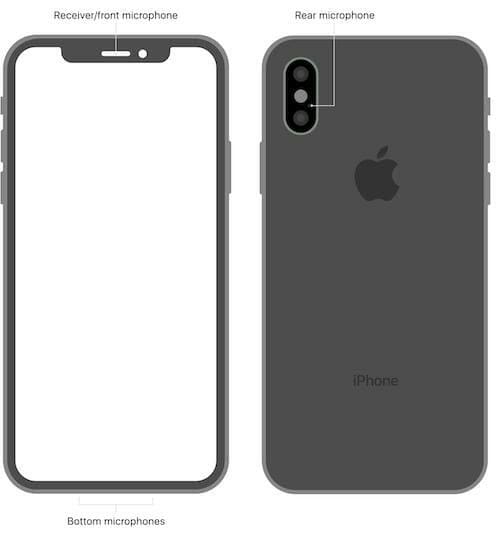
The microphones and speakers on your iPhone are located in three different locations. On your iPhone, just beside your FaceTime camera, there's one. Another feature of your iPhone is a set of circular holes at the bottom of the device, with a third hole located adjacent to the back camera. It is recommended that you sanitize all of these speakers and microphones regularly.
Method 3: Use a Brush with a Soft Braid.
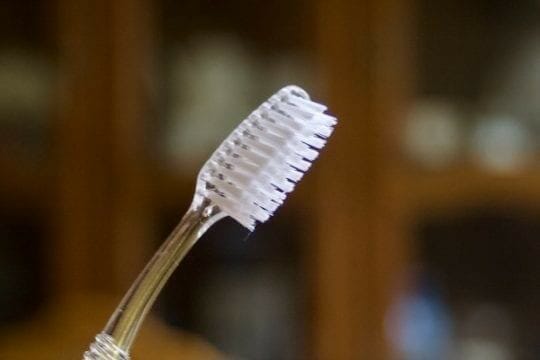
The first way for cleansing the iPhone speakers is to gently brush them with a stiff brush to remove any debris. It might be a toothbrush or a paintbrush that is clean and dry whatever brush you choose. You may decide to reduce the stitches up to a shorter length if you're using a paintbrush so that you have a stronger control.
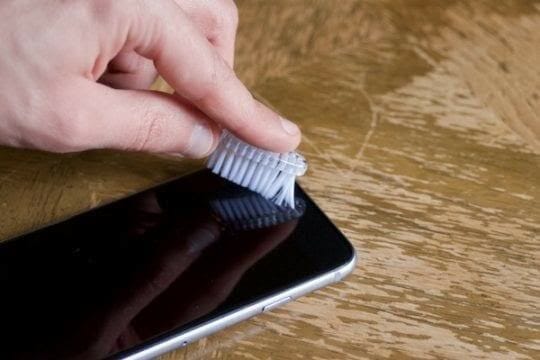
Remove the dirt from the surface using a clean, dry toothbrush.
Sweep the trash to the edge of your loudspeaker or microphone so that you can then sweep it out with your brush. Getting dried-on dust to loosen and break away may require a significant amount of effort; however, persevere and avoid being too rough on yourself.
Method 4: Painter's Tape can be Used to Protect Surfaces.
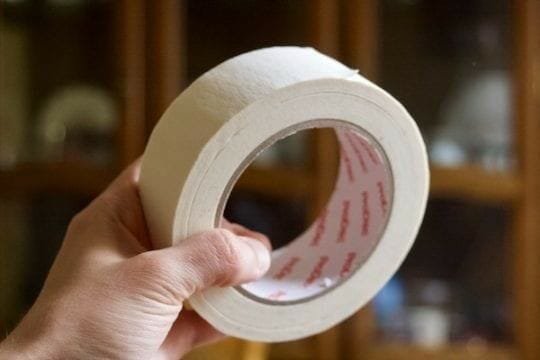
The tape of the painter is intended to keep no sticky residues. Masking tape, often known as painter's tape, is mainly designed to prevent sticky residue from being placed on any surface. As a result, it is an excellent tool for removing stubborn dust from the speaker or microphone of your iPhone. You should still be delicate with it because if some glue does happen to get stuck, it could result in your iPhone becoming even filthy.
Rolling up tape is excellent for removing dirt out of difficult-to-reach places. Rolling a thin strip of tape into a compact cylinder with the sticky flat side out, and then pressing it into the microphone filter to prevent sound leakage. If you realize that the tape has accumulated any dirt, replace it with a fresh piece as soon as possible to avoid returning the dirt to the speaker system.
Method 5: Apply Toothpick to the Situation
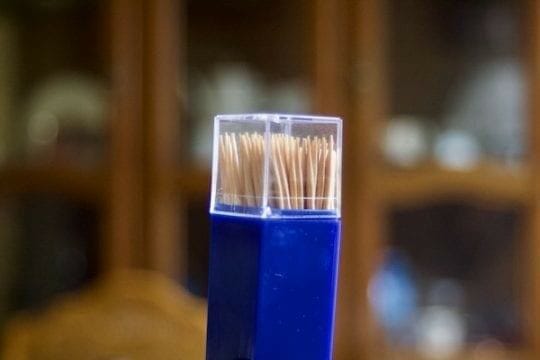
Picking off the dirt with toothpicks is a good idea. The usage of toothpicks in the battle against unclean iPhone speakers is highly recommended. It's important to be cautious with them, as you would with anything else, so as not to press too hard against the fragile grille.
Remove any remaining dirt from the speaker by carefully brushing it away with a toothpick and dragging it out to the edges, so that you can brush it out. Even if most of the dried-on dirt is chipped away, you may find it necessary to slightly wet the end of the toothpick if it is particularly difficult to chip away.

Ensure that the toothpick does not splinter off and cause unwanted clutter on your iPhone screen.
Make use of the toothpick to transfer the moisture to the dust and loosen the dirt. It is necessary, therefore, to use extreme caution while transferring liquids to your iPhone because moisture can easily get over the grille and inflict lasting harm.
Method 6: Compressed air Maintaining Caution
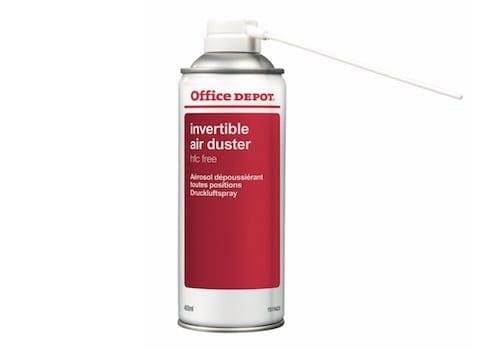
When used properly, compressed air may be a powerful tool in the battle against filthy iPhones. When it comes to keeping equipment clean, compressed air or spray dusters are excellent tools, especially for reaching hard-to-reach spots like MacBook fans or behind a keyboard. Pressurized air has the potential to damage both iPhone's speaker and microphone. Apple recommends against the use of compressed air.
This is because compressed air has a surprising amount of force and can cause the moving elements inside speakers or microphones to shatter. Many consumers have discovered that after randomly using compressed air, their speakers or microphones have completely stopped working subsequently.
However, if you read the directions on the can and keep a safe distance between you and the compressed air, it is feasible to utilize compressed air safely. We recommend a minimum distance of 6 inches between the speaker and the microphone, and that the air be sprayed at an angle rather than directly into the microphone. Additionally, any loose dust will be sprayed into the air, but you really should wear eye protection when using the spray.
To get rid of any sticky gunk, use an electronics cleaning putty.
The sticky cleanser is available for purchase both online and in shops. Take a tablespoon of the putty and gently press it into the microphone hole, then remove it as quickly as possible. Repeat as necessary until your microphone is completely free of dust.
Do not let the slime rest for over a few seconds or the device as it can start to spread and ruin.
Make Cleaning Putty at Home
If you want to make the cleansing putty by yourself, you will need the following things:
- Water (12 ounces)
- Borax (quarter cup)
- White glue (5 ounces)
Now, follow the directions to make that putty:
- In a plastic cup, combine the borax and 8 ounces of lukewarm water and stir well.
- In a separate container, mix the rest water and school glue until well combined.
- In a separate bowl, combine the borax water mixture and mix until thick.
- Knead the material for about 5 minutes, or until it becomes a dry ooze ball. Make your cleaning putty and use it just like a shop.
- If the putty is unable to be formed into a ball, it should not be used as a cleaning. Continue to add more borax until the mixture reached the desired consistency.
Conclusion
Blockages in your iPhone's microphone might lead to poor audio quality on audio recordings and bad call quality when making phone calls. Cleaning the inside of your microphone is an easy and effective fix! To effectively remove the obstruction, you can make use of tools or cleansing products that are specifically developed for this purpose. Now we hope that you know how to clean iPhone microphone.
How To Clean Microphone On Iphone 6
Source: https://www.techdim.com/how-to-clean-iphone-microphone/
Posted by: buserhision.blogspot.com
0 Response to "How To Clean Microphone On Iphone 6"
Post a Comment